> ## Documentation Index
> Fetch the complete documentation index at: https://second.tech/docs/llms.txt
> Use this file to discover all available pages before exploring further.
# Install Bark Pay
> Run Bark Pay on your server with Docker Compose: configure the environment file, connect Barkd, start the stack, and sign in to the admin dashboard.
Bark Pay creates its Bark wallet on mainnet the first time it starts, so plan to [back up the wallet](/docs/bark-pay/backups) right after.
## Before you start
You need:
* A server with [Docker Engine](https://docs.docker.com/engine/install/) and the Docker Compose plugin, on x86\_64 or arm64.
* [Git](https://git-scm.com/downloads).
* A domain name pointing at the server.
Follow the [Railway README](https://gitlab.com/ark-bitcoin/labs/bark-pay/-/tree/master/deploy/railway) in the repository, then continue with [Back up your wallet](/docs/bark-pay/backups).
The values below connect Bark Pay to Second's mainnet Ark server, so charges move real bitcoin from the first sat. To try Bark Pay with test bitcoin first, [add test mode](#add-test-mode) once the stack runs.
## Configure and start the stack
```bash theme={"theme":{"light":"github-light","dark":"github-dark"}}
git clone https://gitlab.com/ark-bitcoin/labs/bark-pay.git
cd bark-pay
```
```bash theme={"theme":{"light":"github-light","dark":"github-dark"}}
cp .env.example .env
```
Open `.env` and delete the leading `#` from the two `BARKD_MAINNET_` lines, so they take effect. Replace `pay.example.com`, the email, and the password with your own, and leave both `BARKD_MAINNET_` URLs as shown. Leave the `#` in front of `BARKD_MAINNET_ACCESS_TOKEN`.
```bash .env theme={"theme":{"light":"github-light","dark":"github-dark"}}
BARKPAY_PUBLIC_URL=https://pay.example.com
BARKPAY_ADMIN_EMAIL=you@example.com
BARKPAY_ADMIN_PASSWORD=<12 or more characters>
BARKD_MAINNET_ARK_SERVER=https://ark.second.tech
BARKD_MAINNET_ESPLORA=https://mempool.second.tech/api
```
Bark Pay creates the admin account from these two values while no admin exists, and ignores them afterwards. The password needs 12 or more characters and can't contain a common word such as `password`, `admin`, or `barkpay`. Otherwise Bark Pay refuses to start.
```bash theme={"theme":{"light":"github-light","dark":"github-dark"}}
docker compose -f docker/docker-compose.prod.yml up -d --build barkd-mainnet
```
```bash theme={"theme":{"light":"github-light","dark":"github-dark"}}
docker compose -f docker/docker-compose.prod.yml exec barkd-mainnet barkd secret show
```
Paste the printed value into `.env` as `BARKD_MAINNET_ACCESS_TOKEN`.
```bash theme={"theme":{"light":"github-light","dark":"github-dark"}}
docker compose -f docker/docker-compose.prod.yml up -d --build
```
The first build takes a few minutes.
```bash theme={"theme":{"light":"github-light","dark":"github-dark"}}
curl -s http://127.0.0.1:8080/ready
```
The endpoint answers `{"status":"ready"}`. To follow the first start, run `docker compose -f docker/docker-compose.prod.yml logs -f bark-pay`.
Bark Pay only starts with the access token in `.env`. If you start the whole stack before copying it, the `bark-pay` container restarts in a loop until you add the token and run the start command again.
## Serve Bark Pay over HTTPS
Bark Pay listens on plain HTTP on port 8080.
Put Bark Pay behind HTTPS before you sign in. Over plain HTTP, your password travels unencrypted. Anyone who captures it can sign in and send payouts from your wallet.
Point your proxy (nginx, Traefik, or a Cloudflare tunnel) at port 8080 on the server, terminate TLS there, and set `BARKPAY_TRUSTED_PROXY_HOPS=2` in `.env`. Then recreate the container:
```bash theme={"theme":{"light":"github-light","dark":"github-dark"}}
docker compose -f docker/docker-compose.prod.yml up -d bark-pay
```
Let the Caddy bundled in the image obtain a Let's Encrypt certificate itself:
In `docker/Caddyfile`, replace `:{$PORT:8080}` with your domain and delete the `auto_https off` line.
In `docker/docker-compose.prod.yml`, replace the `ports` entry of the `bark-pay` service with `- "80:80"` and `- "443:443"`.
```bash theme={"theme":{"light":"github-light","dark":"github-dark"}}
docker compose -f docker/docker-compose.prod.yml up -d --build
```
Leave `BARKPAY_TRUSTED_PROXY_HOPS=1` in `.env`.
## Sign in to the dashboard
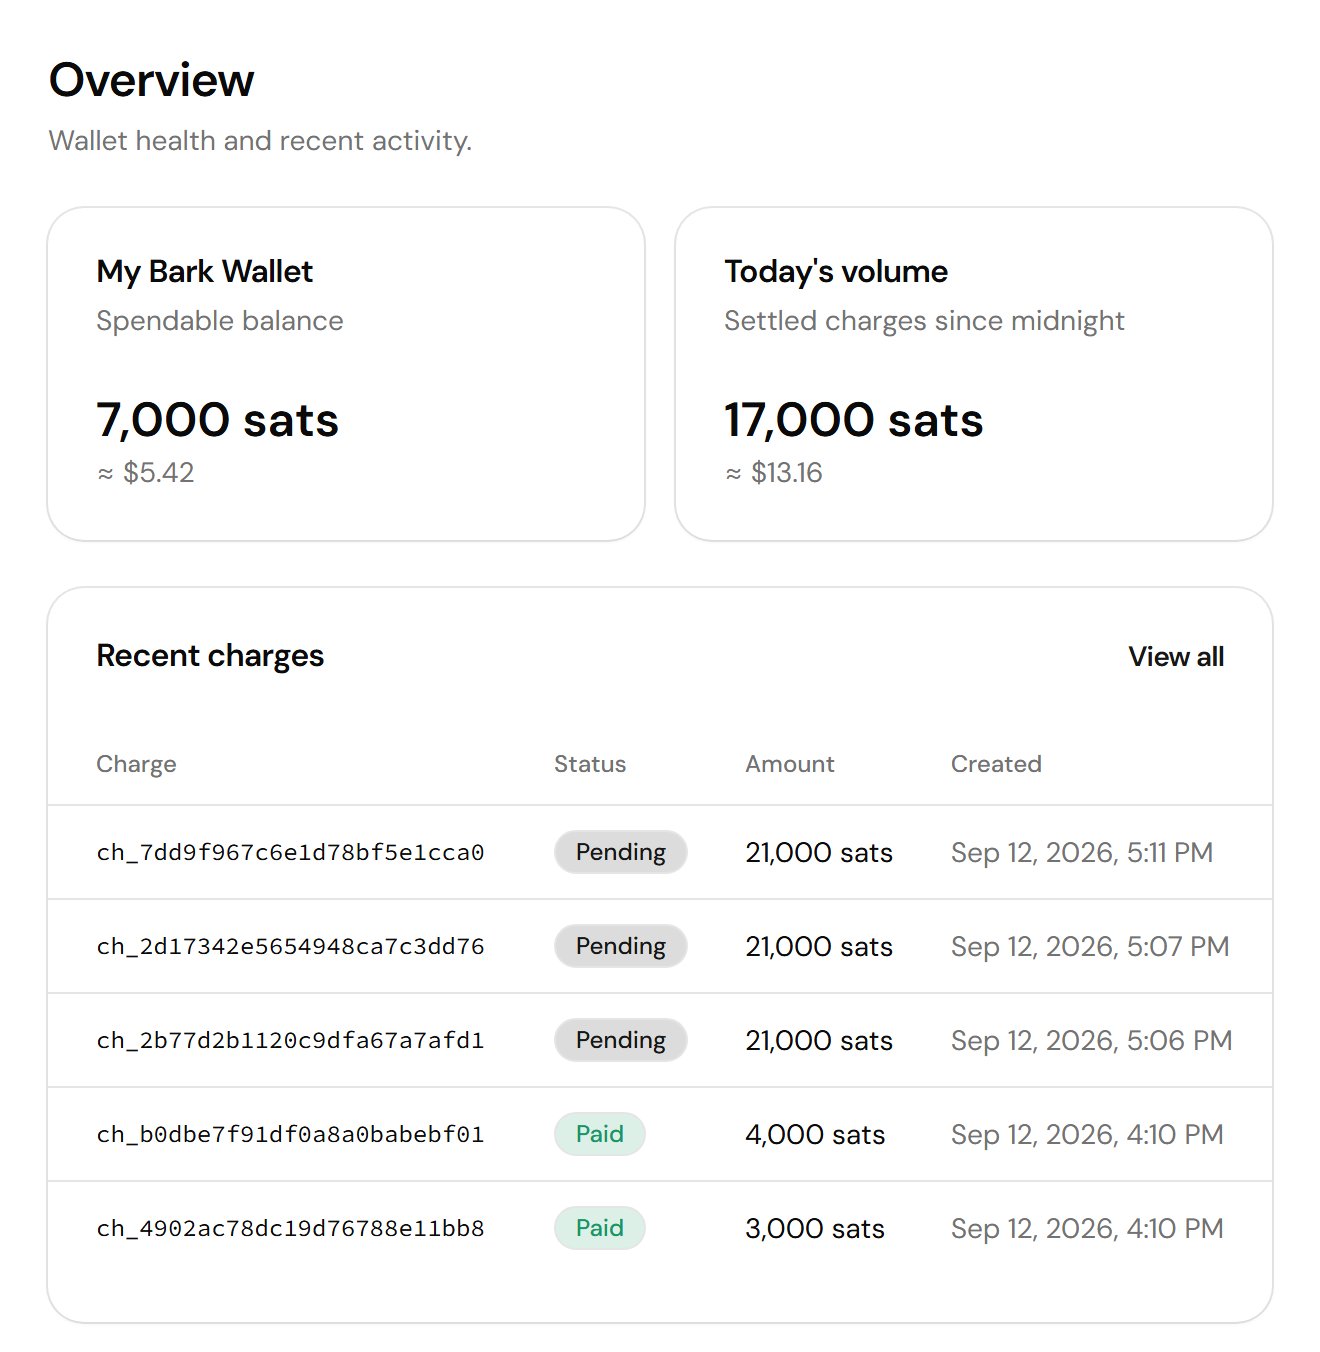
Open your domain in a browser and sign in with the email and password from `.env`.
 ## Add test mode
Test mode needs a second Barkd on signet:
In `docker/docker-compose.prod.yml`, copy the whole `barkd-mainnet` service under the name `barkd-signet`, point its volume at `barkd_signet_data`, and declare that volume next to the other two:
```yaml docker/docker-compose.prod.yml theme={"theme":{"light":"github-light","dark":"github-dark"}}
volumes:
barkpay_data:
barkd_mainnet_data:
barkd_signet_data:
```
Delete the leading `#` from the `BARKD_SIGNET_` lines, and leave these values as they are:
```bash .env theme={"theme":{"light":"github-light","dark":"github-dark"}}
BARKD_SIGNET_URL=http://barkd-signet:3000
BARKD_SIGNET_NETWORK=signet
BARKD_SIGNET_ARK_SERVER=https://ark.signet.2nd.dev
BARKD_SIGNET_ESPLORA=https://esplora.signet.2nd.dev
```
```bash theme={"theme":{"light":"github-light","dark":"github-dark"}}
docker compose -f docker/docker-compose.prod.yml up -d --build barkd-signet
```
```bash theme={"theme":{"light":"github-light","dark":"github-dark"}}
docker compose -f docker/docker-compose.prod.yml exec barkd-signet barkd secret show
```
Paste the printed value into `.env` as `BARKD_SIGNET_ACCESS_TOKEN`.
```bash theme={"theme":{"light":"github-light","dark":"github-dark"}}
docker compose -f docker/docker-compose.prod.yml up -d bark-pay
```
Bark Pay creates the signet wallet on this start. Switch to **Test mode** in the sidebar footer to work against it.
This documentation is built and hosted on [Mintlify](https://mintlify.com), a developer documentation platform.
## Add test mode
Test mode needs a second Barkd on signet:
In `docker/docker-compose.prod.yml`, copy the whole `barkd-mainnet` service under the name `barkd-signet`, point its volume at `barkd_signet_data`, and declare that volume next to the other two:
```yaml docker/docker-compose.prod.yml theme={"theme":{"light":"github-light","dark":"github-dark"}}
volumes:
barkpay_data:
barkd_mainnet_data:
barkd_signet_data:
```
Delete the leading `#` from the `BARKD_SIGNET_` lines, and leave these values as they are:
```bash .env theme={"theme":{"light":"github-light","dark":"github-dark"}}
BARKD_SIGNET_URL=http://barkd-signet:3000
BARKD_SIGNET_NETWORK=signet
BARKD_SIGNET_ARK_SERVER=https://ark.signet.2nd.dev
BARKD_SIGNET_ESPLORA=https://esplora.signet.2nd.dev
```
```bash theme={"theme":{"light":"github-light","dark":"github-dark"}}
docker compose -f docker/docker-compose.prod.yml up -d --build barkd-signet
```
```bash theme={"theme":{"light":"github-light","dark":"github-dark"}}
docker compose -f docker/docker-compose.prod.yml exec barkd-signet barkd secret show
```
Paste the printed value into `.env` as `BARKD_SIGNET_ACCESS_TOKEN`.
```bash theme={"theme":{"light":"github-light","dark":"github-dark"}}
docker compose -f docker/docker-compose.prod.yml up -d bark-pay
```
Bark Pay creates the signet wallet on this start. Switch to **Test mode** in the sidebar footer to work against it.
This documentation is built and hosted on [Mintlify](https://mintlify.com), a developer documentation platform.