Send on-chain bitcoin to Swaptopia and have it paid out over Lightning, to an invoice or Lightning address of your choice, in a single swap.
Swaptopia asks for the Lightning invoice only after your bitcoin confirms, so you create it for the exact figure the swap pays. On mainnet, a swap starts at 51,000 sats or more.You need:
An on-chain wallet app holding the amount you send, plus its own miner fee.
A Lightning wallet app that can create an invoice, or a Lightning address.
Bitcoin sits under You send and Lightning under You receive. If they are the other way round, select the Swap direction button.
2
Enter the amount
Enter the amount in sats under You send, or select a preset. To get a set amount over Lightning instead, enter it under You receive. Either way, the quote is an estimate. Swaptopia raises an amount under the smallest swap the Ark server takes. A note on the swap card says so. Read the quote explains each fee line.
3
Select Swap
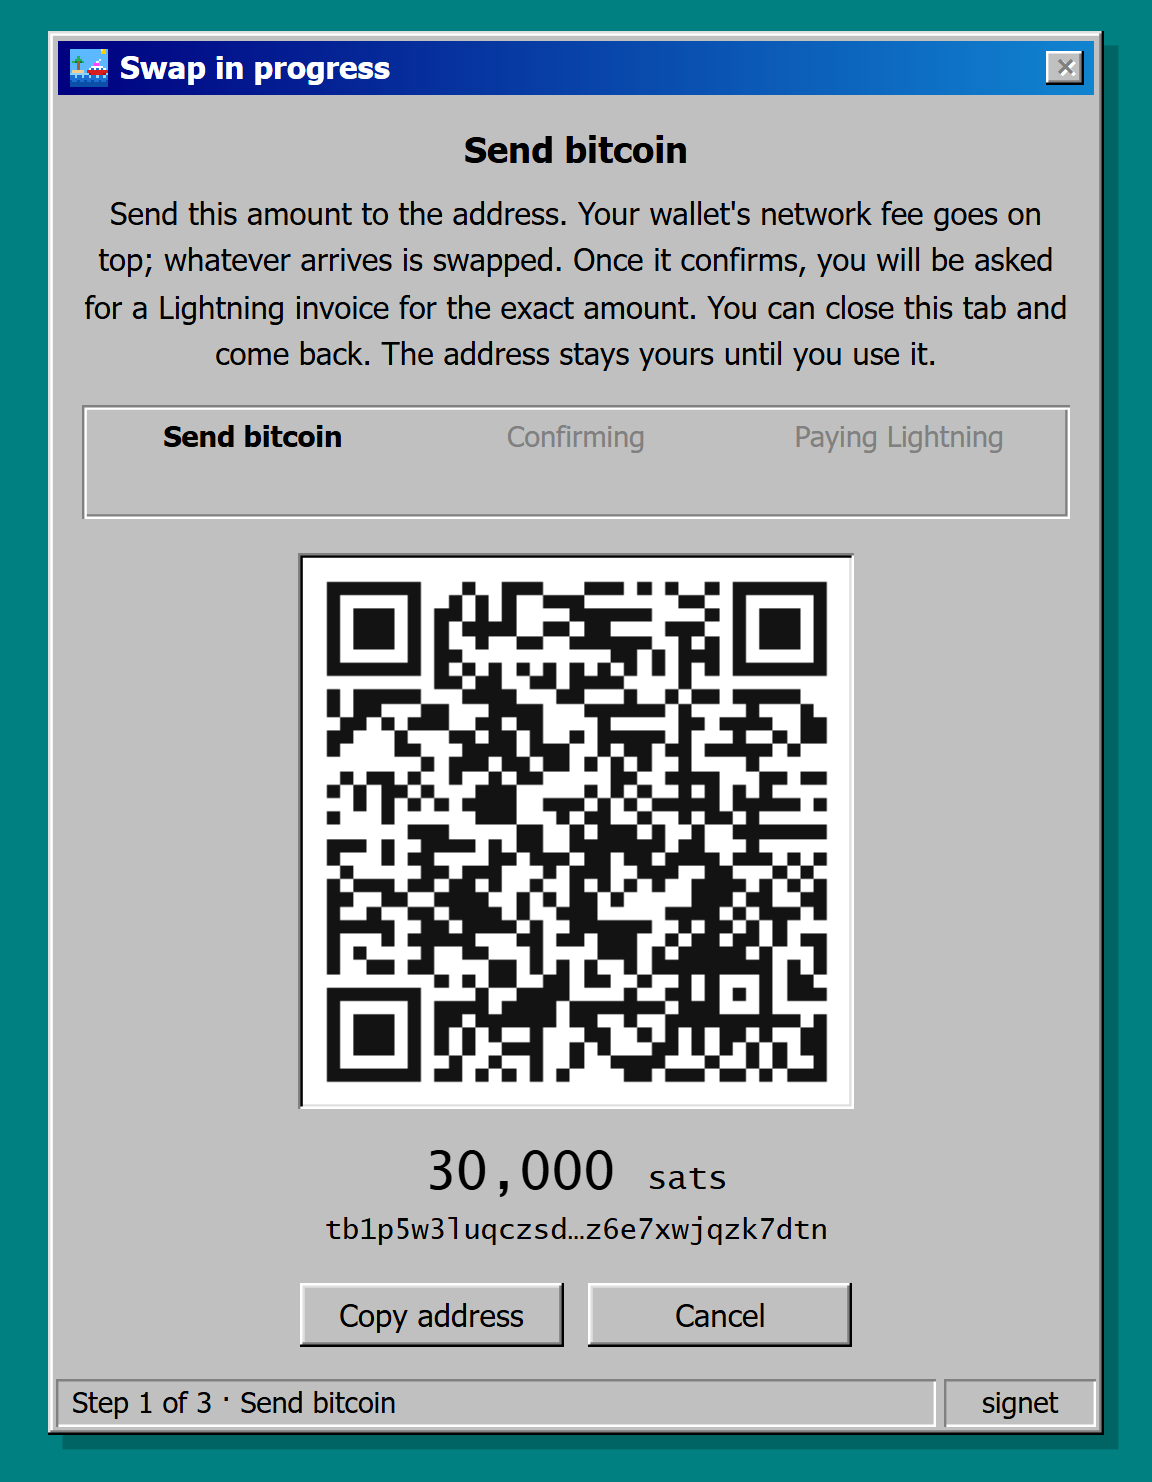
Swaptopia opens the Send bitcoin stage with an address to fund.
A preset fills in the amount. Swap then opens the Send bitcoin stage
Scan the QR code with your on-chain wallet app, which also fills in the amount, or select Copy address.
2
Send exactly the amount shown
Your on-chain wallet app adds its own miner fee on top. Swaptopia swaps whatever arrives at the address.
The address stays yours until you use it, so you can close the tab at this stage
To stop before you send anything, select Cancel.If less than the minimum arrives, top up the same address.If more than 0.1 BTC arrives on mainnet, Swaptopia swaps the maximum. The rest stays in the wallet and becomes leftover sats if it reaches the Ark server’s boarding minimum.
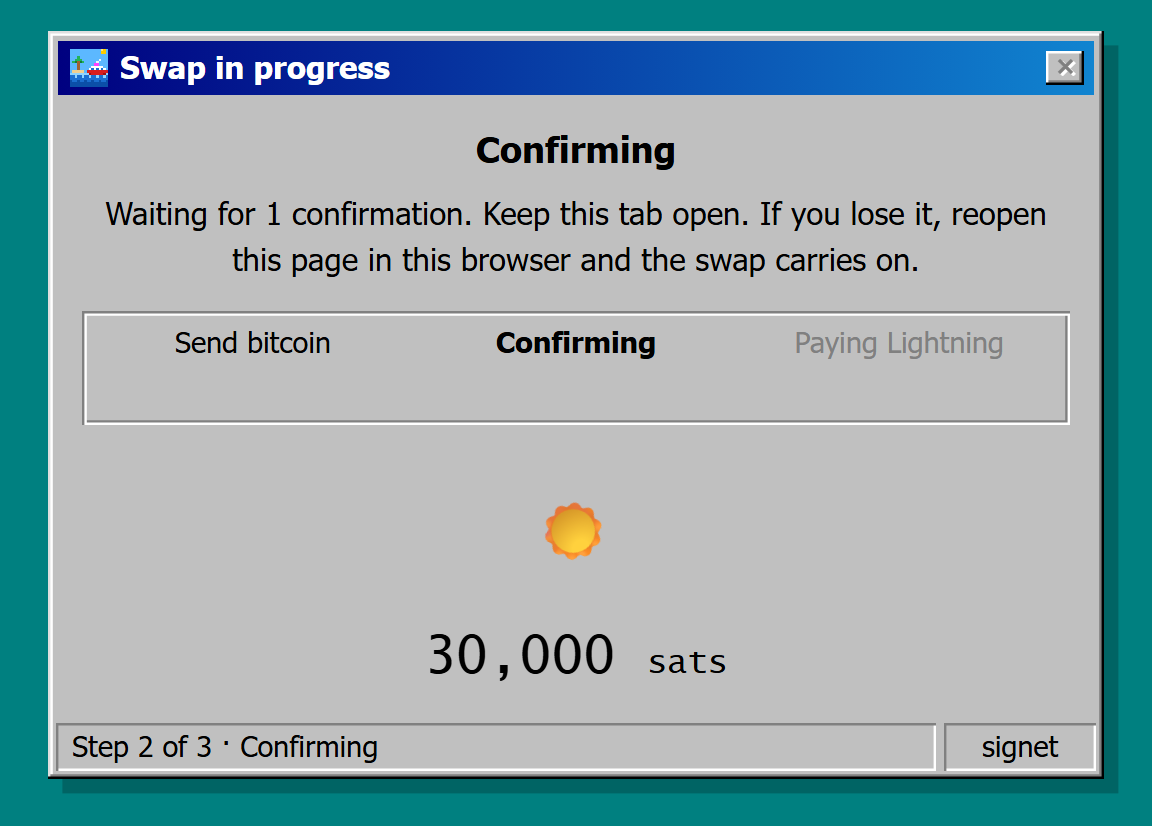
Keep this tab open while the stage reads Confirming. On mainnet, Swaptopia waits for two confirmations, usually about 20 minutes. If you lose the tab, reopen the same page in the same browser. The swap resumes where it left off.
Swaptopia moves to the invoice step on its own once the confirmations are in
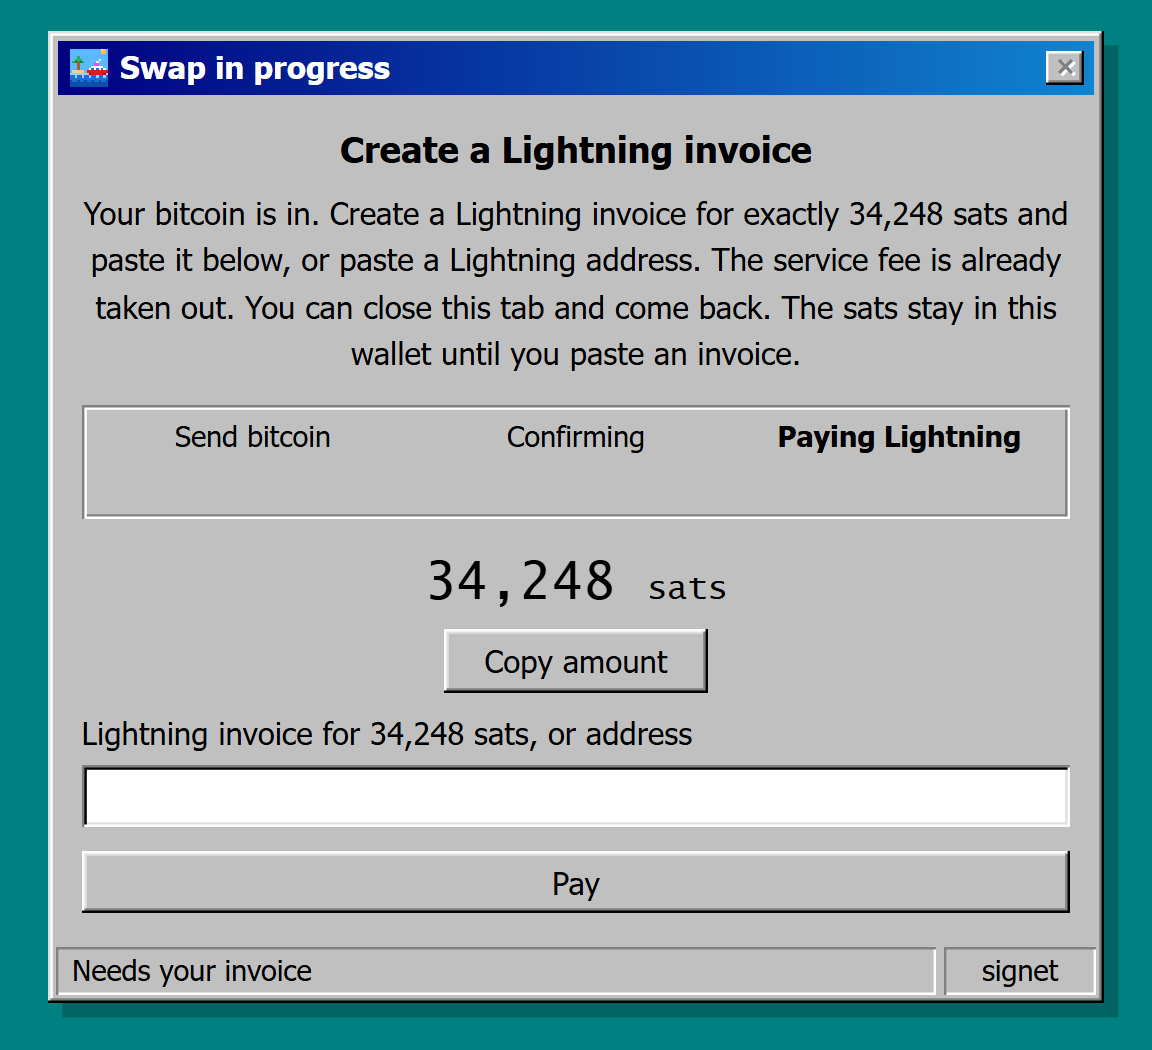
The Create a Lightning invoice screen shows the exact figure to invoice, with the service fee already taken out. Copy amount puts it on your clipboard.
2
Create the invoice in your Lightning wallet app
Set the amount to exactly the copied figure. A Lightning address (name@domain) or an amountless invoice works too. Swaptopia pays the figure to it.
3
Paste the invoice
Paste it in the Lightning invoice for N sats, or address field.
The field takes an invoice for exactly this figure, or a Lightning address
4
Select Pay
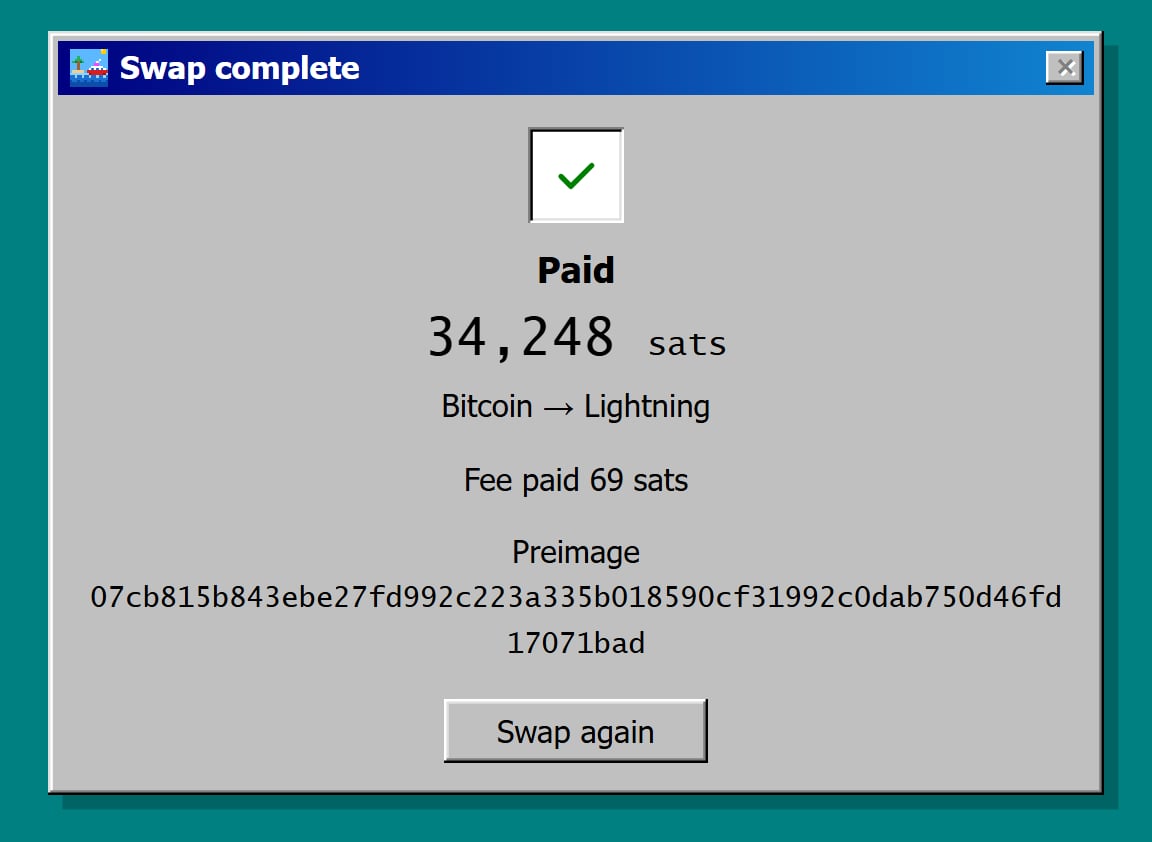
Swaptopia shows Paying Lightning while the payment goes out, then the receipt. Keep the tab open until the receipt appears.
You can close the tab before you paste an invoice. The sats stay in the wallet until you paste one. Swaptopia recalculates the figure each time you reopen the page. Check it again before you create the invoice.