

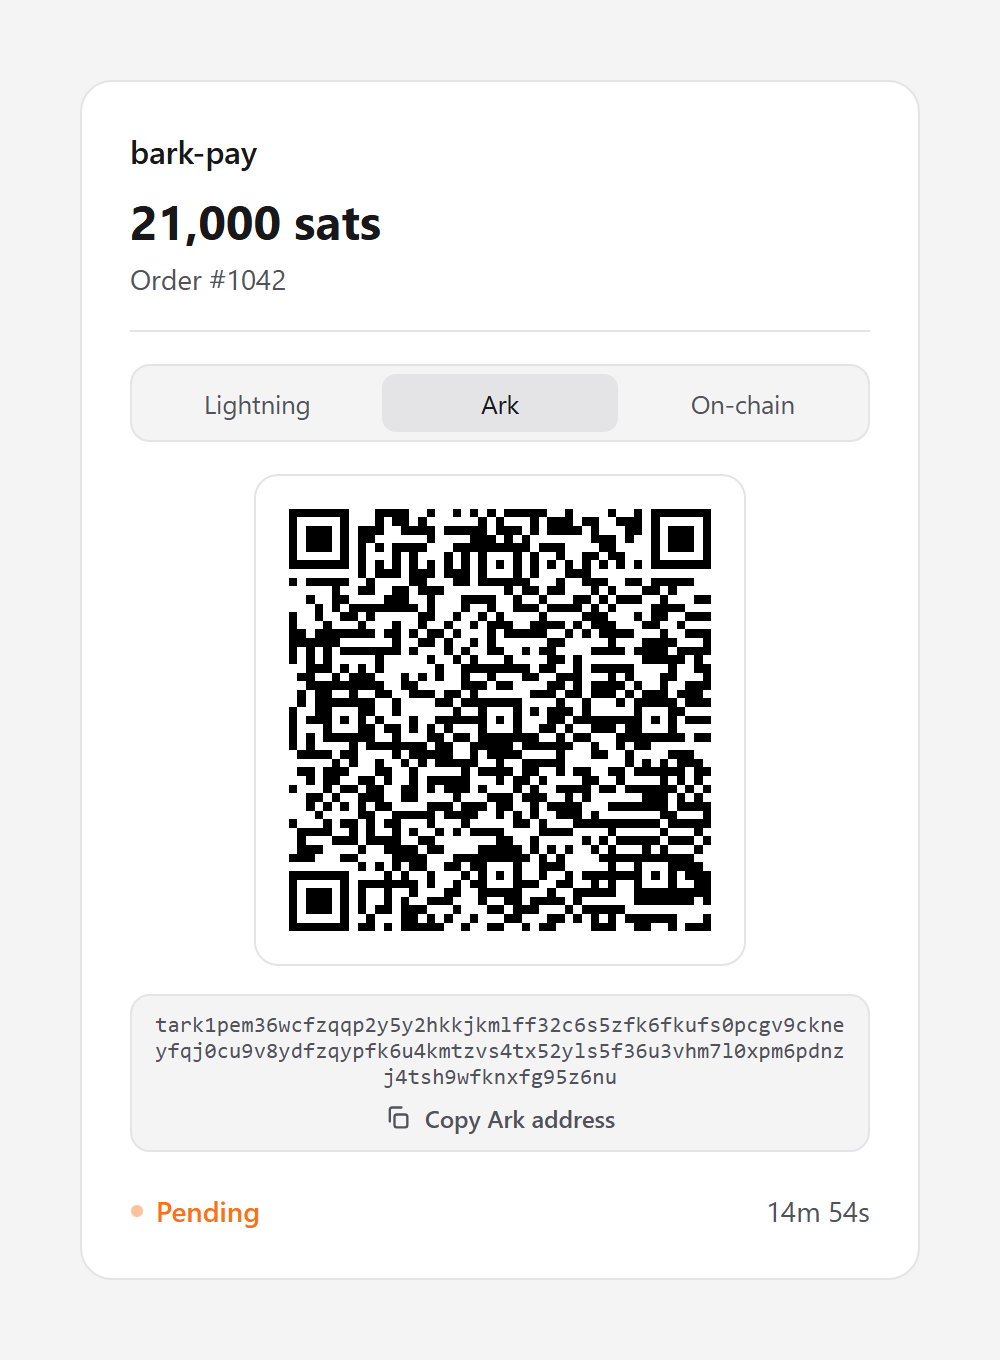
Your customers pay a charge over Lightning, Ark, or on-chain from one hosted page
What Bark Pay manages for you
- One wallet you control: Every live charge settles into the same Barkd wallet on your server. Only you can spend from it. Test mode uses a separate signet wallet.
- Every payment method: A charge offers Lightning, Ark, and on-chain when the amount fits each one. Bark Pay notifies your app when it settles.
- Wallet maintenance: Like any off-chain protocol, Ark wallets require ongoing maintenance. Barkd handles all of it in the background for you.
Set up and run Bark Pay
Install Bark Pay
Run the Docker Compose stack on your server, connect it to Barkd, and sign in.
Back up your wallet
Write down the seed phrase and keep the wallet volumes backed up.
Create and track charges
Create a charge from the dashboard, share its checkout link, and follow its status.
Take payments at checkout
Check what your customers see on the hosted page, and put your branding on it.
Integrate Bark Pay with your app
Create API keys, open checkout sessions from your server, and fulfill orders on webhooks.
Manage your Bark Pay wallet
Read your balances, deposit bitcoin, and send manual payouts from the dashboard.
Configure Bark Pay
Set charge defaults, the amount tolerance, test mode, and your admin password.
Update or remove Bark Pay
Pull a new version without losing data, or shut the stack down safely.