

sk_test_ keys reach the signet wallet. The Developers > Quickstart page runs the three steps below against it.
Create an API key
1
Switch to the mode you need
Use the switch in the sidebar footer. A key belongs to the mode you created it in:
sk_test_ keys reach the signet wallet, sk_live_ keys reach the mainnet wallet. See test mode.2
Go to Developers > API keys
3
Select Create key
4
Leave Type on Secret (sk_)
5
Enter a label (optional)
6
Select Create key at the bottom of the drawer
Copy the key now. The dashboard shows it once, so store it like a password.
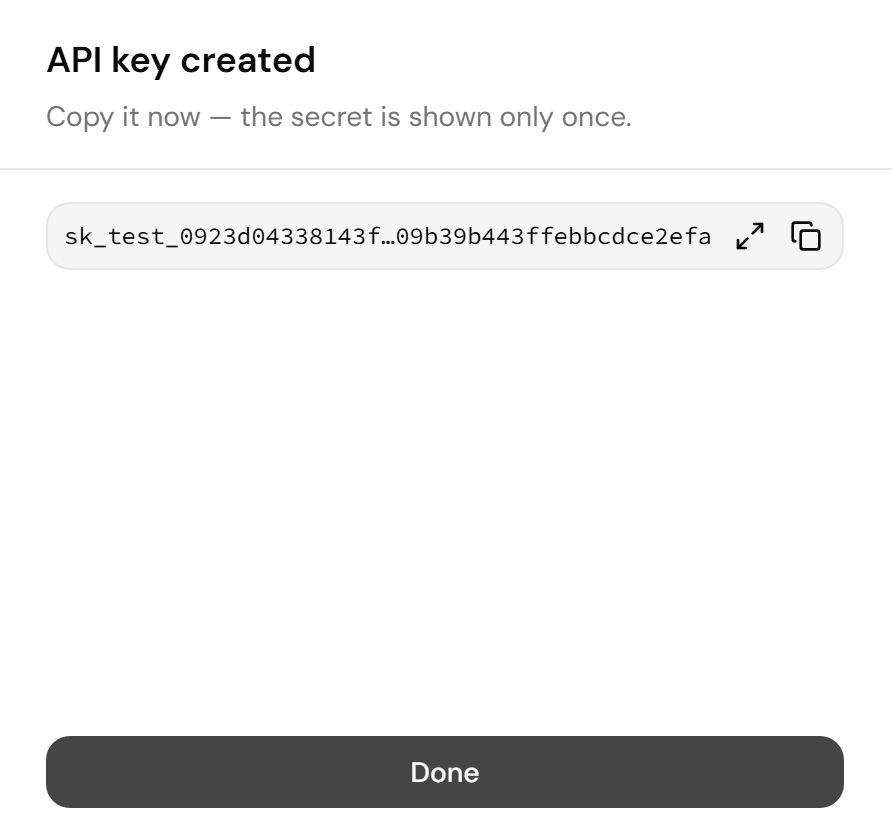
The full key appears once, right after creation
Create a checkout session
Send the key as a bearer token. In the snippets below, replacepay.example.com with your Bark Pay domain, sk_test_... with your secret key, and the myshop.example URLs with your own. The Idempotency-Key header makes a retried request return the same session instead of creating a second charge. Bark Pay stores every key and replays the first response, even after that session expires. Use a new key for each checkout attempt, for example the order ID plus an attempt number.
url in the response:
Response
To render your own checkout instead of the hosted page, call
POST /v1/charges with the same fields except successUrl, cancelUrl, and customerEmail. The charge object carries a rails array with the Lightning invoice, Ark address, and on-chain address. It also carries a clientSecret, which your browser code sends as an X-Client-Secret header to poll GET /v1/charges/{id}/status.Listen for webhooks
Fulfill orders from thecharge.paid and charge.overpaid webhooks, never from your customer landing on your success URL. A customer can skip, replay, or forge that redirect.
1
Go to Developers > Webhooks
2
Select Add endpoint
3
Enter your endpoint URL
Bark Pay refuses to deliver to local and private addresses, so use a tunnel such as cloudflared or ngrok during development.
4
Tick the event types you need, or leave them all unticked to receive every event
5
Select Create endpoint
Copy the signing secret now. The dashboard shows it once. To change it later, delete the endpoint and create a new one.
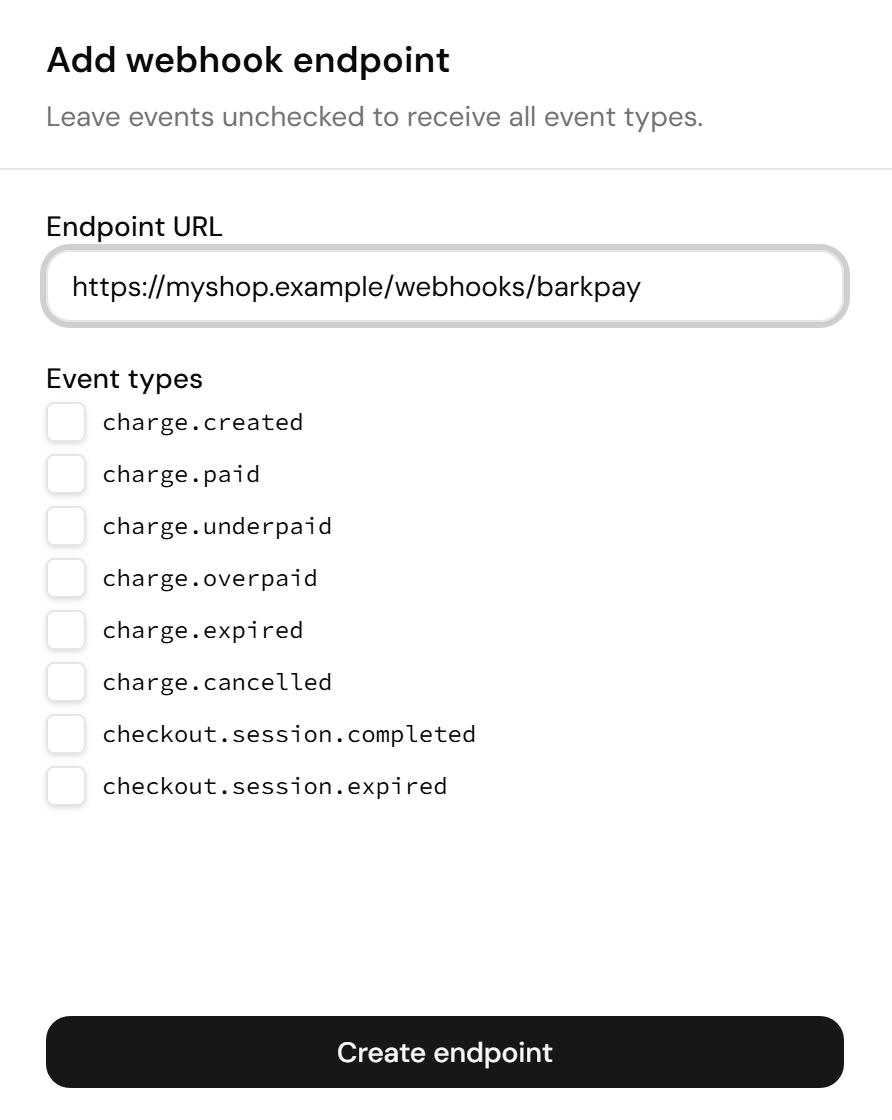
Tick nothing to receive every event type on the endpoint
- Test: Sends a signed
webhook.testevent. - Deliveries: Lists each event sent to the endpoint, with its status, number of attempts, and last response code.
- Disable: Stops delivery without deleting the endpoint. Events that fire while it’s disabled never reach it, even after you select Enable, so fetch them with
GET /v1/events. - Delete: Removes the endpoint.
Verify the signature
Every delivery carries aBark-Signature header. The scheme matches Stripe’s, so a Stripe verifier works if you pass it this header’s value. Verify the raw body before parsing it, replacing whsec_... with the signing secret you copied and /webhooks/barkpay with your own path:
server.js
Handle each event type
The body carries the eventid, type, livemode, created, and data.object, the charge or checkout session as it was after the event:
Charge events carry the charge’s status in
data.object.status. See Follow a charge’s status for what each one means.
Recover from a failed delivery
Answer with a 2xx status within 10 seconds. Bark Pay tries each delivery up to 12 times, backing off from 10 seconds to 2 hours, then gives up. Process events idempotently byevent.id. If your endpoint was down, select Resend on the Deliveries sheet, or fetch what you missed with GET /v1/events and your secret key.
Cancel a charge
Cancel a pending or underpaid charge from your server. Replacech_... with the charge ID:
cancelled.
Read and list charges
GET /v1/charges/{id}returns one charge.GET /v1/chargeslists charges newest first, withstatus,limit(up to 100), andstarting_after(a charge ID) as query parameters. The response hasdataandhasMore.
{ "error": { "type": "api_error", "code": "...", "message": "...", "param": "..." } }.