

Before you start
You need:- A server with Docker Engine and the Docker Compose plugin, on x86_64 or arm64.
- Git.
- A domain name pointing at the server.
Deploying on Railway instead?
Deploying on Railway instead?
Follow the Railway README in the repository, then continue with Back up your wallet.
The values below connect Bark Pay to Second’s mainnet Ark server, so charges move real bitcoin from the first sat. To try Bark Pay with test bitcoin first, add test mode once the stack runs.
Configure and start the stack
1
Clone the repository
2
Create the environment file
3
Set the public URL, the admin account, and the Ark endpoints
Open Bark Pay creates the admin account from these two values while no admin exists, and ignores them afterwards. The password needs 12 or more characters and can’t contain a common word such as
.env and delete the leading # from the two BARKD_MAINNET_ lines, so they take effect. Replace pay.example.com, the email, and the password with your own, and leave both BARKD_MAINNET_ URLs as shown. Leave the # in front of BARKD_MAINNET_ACCESS_TOKEN..env
password, admin, or barkpay. Otherwise Bark Pay refuses to start.4
Start Barkd
5
Copy the Barkd access token into .env
.env as BARKD_MAINNET_ACCESS_TOKEN.6
Start Bark Pay
7
Check that Bark Pay is ready
{"status":"ready"}. To follow the first start, run docker compose -f docker/docker-compose.prod.yml logs -f bark-pay.Bark Pay only starts with the access token in
.env. If you start the whole stack before copying it, the bark-pay container restarts in a loop until you add the token and run the start command again.Serve Bark Pay over HTTPS
Bark Pay listens on plain HTTP on port 8080.- Your own reverse proxy
- Bundled Caddy
Point your proxy (nginx, Traefik, or a Cloudflare tunnel) at port 8080 on the server, terminate TLS there, and set
BARKPAY_TRUSTED_PROXY_HOPS=2 in .env. Then recreate the container:Sign in to the dashboard
Open your domain in a browser and sign in with the email and password from.env.
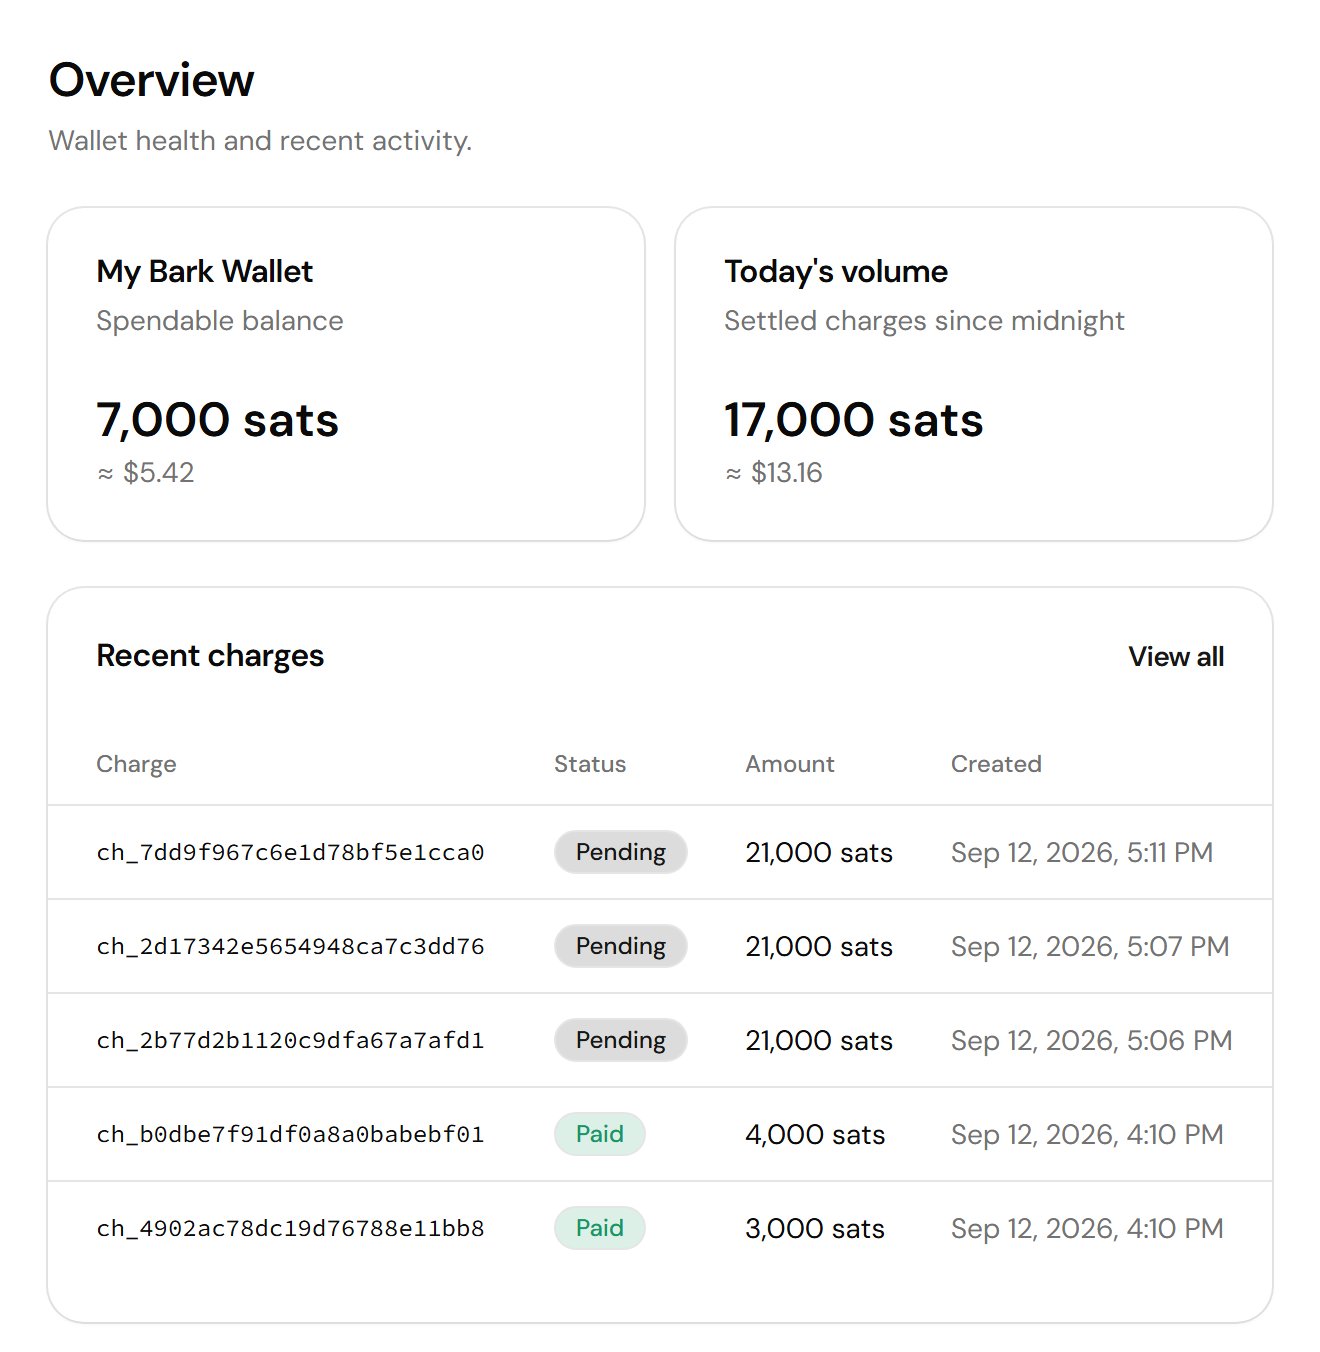
After sign-in, Overview shows the wallet balance and the latest charges
Add test mode
Test mode needs a second Barkd on signet:1
Add a signet Barkd to the stack
In
docker/docker-compose.prod.yml, copy the whole barkd-mainnet service under the name barkd-signet, point its volume at barkd_signet_data, and declare that volume next to the other two:docker/docker-compose.prod.yml
2
Configure the signet instance in .env
Delete the leading
# from the BARKD_SIGNET_ lines, and leave these values as they are:.env
3
Start the signet Barkd
4
Copy its access token into .env
.env as BARKD_SIGNET_ACCESS_TOKEN.5
Restart Bark Pay